Friday, December 23, 2011

Peanut Butter and M&M Blondies

I love Christmas. But then again, who doesn't? My life has been rather busy/chaotic/stressful the past several months. I'm in my final year of high school, and working to finish 6 more college applications. Don't remind me of how stupid it was to apply to 12 schools. I know. Anyways, I'm so thankful to finally be on holiday break. The music, the warmth from the fire place, never having to leave my bed - it's nice to relax. I also have ample time to bake my life away, which is really the best part.

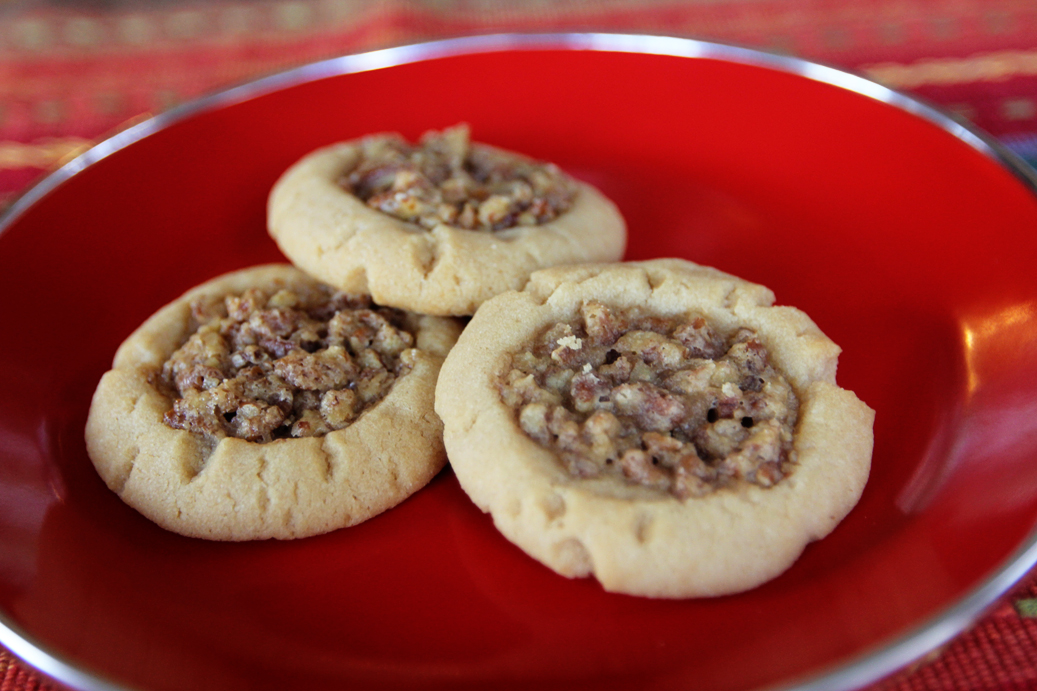
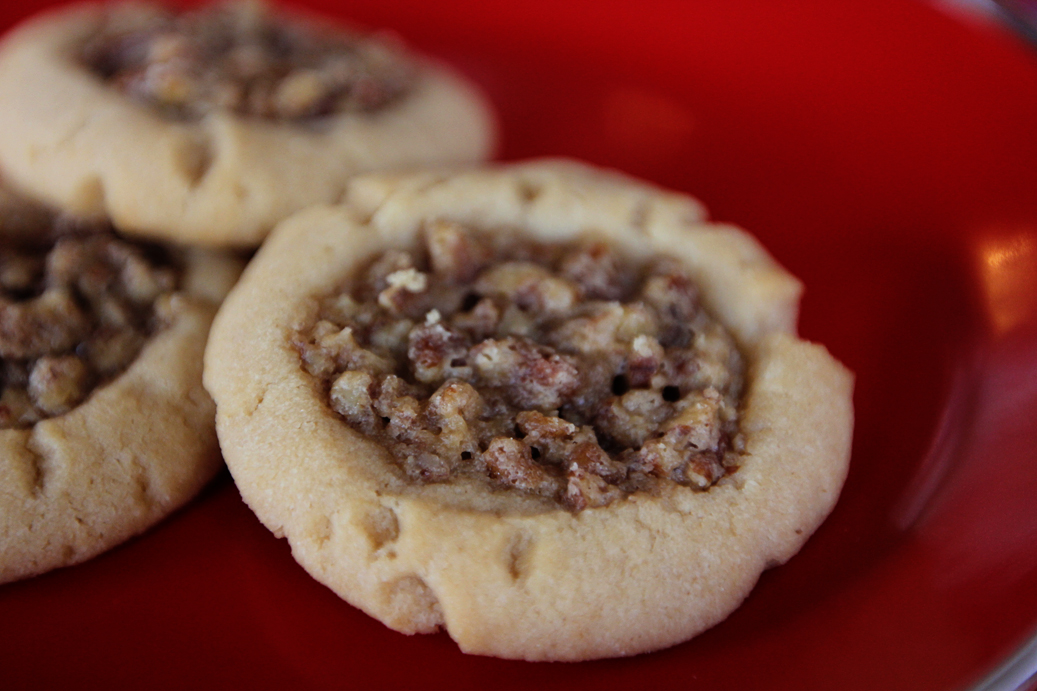
I had never made blondies before yesterday, and I'm not sure why that is. They are absolutely delectable. Soft, chewy, sweet, salty, delicious, perfection in bar form. 


What's better than peanut butter and chocolate? I can think of hardly anything. These peanut butter and M&M blondies could quite possibly be the best desserts you've ever eaten.


Peanut Butter and M&M Blondies
Recipe credit

Ingredients
1/2 cup of unsalted butter
1 3/4 cup of packed light brown sugar
3/4 cup of peanut butter
2 eggs
2 teaspoons of vanilla extract
2 1/2 cups of all-purpose flour
1 teaspoon of baking powder
1/4 teaspoon of baking soda
1/4 teaspoon of salt
1 1/2 cups of M&Ms
1/4 cup of semi-sweet chocolate chips
1 teaspoon of vegetable shortening

Directions
Preheat oven to 350 degrees fahrenheit. Line a 9x13 pan with aluminum foil; coat lightly with cooking spray.

In a medium saucepan, melt butter and brown sugar over medium heat, stirring constantly until smooth. Remove from heat and stir in peanut butter. Allow to cool for 10 minutes.

In a large bowl, combine flour, baking powder, baking soda, and salt. After the peanut butter mixture has cool slightly (should still be warm, but not hot - you don't want to cook the eggs), add the vanilla; stir until combined. Add eggs one at a time, stirring until fully incorporated.

Pour the warm peanut butter mixture into the flour mixture. Stir until fully incorporated. Fold in one cup of M&Ms, and mix until dough forms. Pour into prepared pan, and smooth out with spatula until evenly distributed. Top with remaining 1/2 cup of M&Ms and press lightly into the dough. Bake for 25 minutes, or until edges are golden brown.

Allow to cool for at least 45 minutes. Melt chocolate chips and shortening in small bowl in microwave - 45s at 50% power. Stir until smooth. Drizzle over blondies.


Pecan Pie Cookies

I love cookies. A lot. Half my heart is probably cookie dough, and I more than likely have brown sugar running through my veins.


I stumbled upon these cookies last Christmas, and they were a hit. Understandably so. They are, without a doubt, the most delicious baked morsels I've ever put in my mouth. Seriously, they're incredible.

The cookie is sweet and buttery, and the filling, well, it tastes exactly like pecan pie. You know what else rocks about these sweet treats? They're probably the easiest cookies to make.

Bake them. Now.


Pecan Pie Cookies
Recipe credit

Ingredients
Cookie ingredients:
1 cup of packed light brown sugar
3/4 cup of softened salted butter
1 egg
1 teaspoon of vanilla
2 cups of all-purpose flour
1 teaspoon of baking powder

Filling ingredients:
1 cup of chopped pecans
1/2 cup of packed light brown sugar
1 teaspoon of vanilla extract
1/4 cup of whipping cream

Directions
Preheat oven to 350 degrees fahrenheit. Combine all cookie ingredients in a large bowl, except for flour and baking powder. Mix until creamy consistency. Gradually, add in flour and baking powder. Mix well until dough forms.

Shape dough into walnut-sized balls. Place on ungreased cookie sheet, 2 inches apart. Make indentations in dough balls using your thumb, or the back of a teaspoon.

Combine filling ingredients in small bowl and mix well. Fill each cookie with 1 rounded teaspoon of filling.

Bake for 10-12 minutes, or until light brown.

Saturday, December 17, 2011

Holiday Buttons

I love simple sweets that take less than 10 minutes of preparation, and even less time for baking. The ease at which I can pop them in my mouth makes me enjoy them even more.

A few years ago, in 7th grade, my friend's mom made these delicious little buttons. I gobbled down one too many, but enjoyed them wholeheartedly. Years passed and I forgot about the miniature treats, but was recently reminded of their whimsy a few days ago. I knew I had to make some.


Peter and I went to Lowe's tonight and practically bought out the baking section. I kid. Lowe's was, however, lacking holiday Hershey Kisses which was a bit of a disappointment.

These buttons combine sweet, salty, and adorable - all into one bite-sized package. 


Holiday Buttons
1 bag of spiral or square pretzels
1 bag of Hershey's milk chocolate Kisses
1 bag of Hershey's cookies & cream Kisses
1 bag of holiday M&M's 

Preheat oven to 170°F. Lay pretzels on cookie sheets. 60-80 pretzels should fit on 1 sheet. Place kisses on center of pretzels. Bake for 4-8 minutes, depends on the oven, until the kiss is soft. Place M&M on top of kiss. Enjoy immediately, or wait for chocolate to set. Place cookie sheet in fridge for at least 15 minutes. I tried to cool them by leaving them on the counter, but the chocolate cools at different speeds and temperatures to they turned kind of chalky. I recommend the use of a refrigerator. 

Pop a button in your mouth, one after the other, and enjoy!


Thursday, December 23, 2010

Om nom nom

I have found SO many delicious recipes. I've been slacking, I know, but I will be posting all recipes that I've missed this week.

I'm planning to make the following:
Chocolate chip dough balls
Pecan sandies
Chocolate-peanut butter fudge
Peanut butter reindeer cookies
Cranberry orange muffins
Chocolate & peppermint whoopie pies
Peppermint brownies
Chocolate turtle cookies
Candy cane kissed nutella cookies

Happy Holidays! :{D

Sunday, November 28, 2010

Autumn

This year in North Carolina, fall was BEAUTIFUL. My mom said that in all her years living here, this was the most beautiful and colorful season thus far. I can definitely agree. I got a few photos that captured the color and essence of what I saw. My mom got many more pictures than me, while driving and swerving through my neighborhood I might add. Here are just a few that I took:


And, of course, my cat


You can see all my photos by clicking here

Thursday, November 25, 2010

Bacon and Parmesan Risotto

Every time that I have eaten risotto, I've loooved it. I found this awesome recipe that I wanted to try, but didn't think I'd have time or patience to whip it up today for Thanksgiving, so I modified it. While making this dish, my sister revealed to me that risotto is one of the more difficult things to make as it is hard to cook perfectly. I was up for the challenge! This ended up being pretty good, so I recommend trying it!

Ingredients

  • 1 cup - fresh chopped bacon
  • 5-6 cups - chicken stock
  • 3-4 tablespoons - salted butter
  • 1/2 white onion, chopped or diced
  • 4 cloves of garlic, minced
  • 1 1/2 cups - Arborio rice
  • 3-4 tablespoons - salted butter
  • 1/2 cup - freshly grated parmesan cheese
  • salt and pepper 
Directions
Cook the bacon as directed by package in a large frying pan over medium heat until brown and crispy. Remove bacon from heat when finished, and set on paper towels on a plate. Set this plate aside.
In a small bowl, grate fresh parmesan until you have around 1/2 a cup. Set this bowl aside. 


Put the chicken stock in a large saucepan, and bring to a boil on high heat. Once it begins to boil, reduce heat, but keep the stock hot. 
Use a separate, large sauce pan and put it on medium/high heat. Place the butter in the pan, and allow it to melt. Put in the onions and garlic, and change the heat to medium. Once the onions are tender and brown on the edges, pour in the rice. 


Allow the rice to be coated in butter. Make sure the rice is slightly toasted before putting in the stock.
Add in 1/3 of the stock to the rice pot. Continuously stir this mixture until the stock has been absorbed by the rice, and it becomes creamy. Add in another 1/3, and repeat this process until all the stock is gone. 


This should take 15-20 minutes. I suggest tasting the rice to make sure it is cooked thoroughly, and not undercooked. If it is undercooked, heat up a little more broth, and add it to the rice mixture. 
Once the rice is cooked all the way through, remove the pan from the heat. You may keep the rice in the pan, or add it to a different dish. 
Add in the other 3-4 tablespoons of butter to the rice. Stir the rice to melt the butter. 
Finally, add in the parmesan cheese and the bacon. You may find it necessary to add more parmesan, it depends on how much you like, and how powerful you want the taste to be. Add salt and pepper if necessary. Enjoy! 


Don't worry, it looks better than that. I'll post a better picture of the final dish soon! 


Wednesday, November 24, 2010

Rigatoni with Meatballs

Modified version of recipe found here

I love pasta. I love meatballs. I love them together. Actually, I love all Italian food, albeit this was not authentic. When I found this recipe, I knew I had to try it. I suggested it to my family, but they weren't really into the whole sausage thing. And I'll admit, I wasn't into the whole mushroom thing. Maybe one day I'll get over my immense loathing and disgust towards the fungus. My sister and I collaboratively made this dish for dinner, and it was so good. She made the meatballs, and I did the rest. We served it with a side of fresh broccoli, but you can use any vegetable you like.


Ingredients 

  • 2 tablespoons - olive oil 
  • 1/2 white onion, diced
  • 2 cloves of garlic, minced
  • 1 package of ground beef (I think it's about a pound; we use lean 96/4)
    • 2 slices of bread
    • 1/2 cup - milk
    • 1 egg
    • salt and pepper
    • herbs for seasoning (dry herb mix works, or fresh herbs)
  • 1/2 cup - dry white wine
  • 1 box of Rigatoni
  • 1 cup - light cream
  • 2 (pasteurized) eggs 
  • 1/2-1 cup - fresh grated parmesan
  • 2 tablespoons - chopped fresh parsley OR 
  • 2 tablespoons - dry herb mix 
Directions
Heat the olive oil in a large frying pan over medium heat. While the oil is getting hot, prepare the onion and garlic. You can mince or chop the garlic/onion, depending on your preference. 
Once the onions are translucent, you may add in the meatballs. 
To prepare the meatballs, put the ground beef in a large bowl. In a separate bowl, add in the milk and broken up pieces of bread. Rip of the bread into pretty small pieces, then soak it in the milk. Add in the egg, herbs, salt and pepper, and milk/bread mixture. Using your finger tips, begin to break apart the meat. Do not vigorously squeeze the meat through your fingers. Make sure the meat mixes with the rest of the ingredients. Once it is mixed all the way through, form 1-inch meat balls. 
Add the meatballs to the pan with garlic and onion. 
While the meatballs are cooking, boil a large pot of water on high until it has reached a rolling boil. Salt the water to your preference. Add in the rigatoni pasta, and cook it for 9-11 minutes. 
Make sure to turn your meatballs frequently so they cook evenly. 
While the pasta and meatballs are cooking, prepare the cream sauce. 
In a small bowl, add in the cream and eggs. Make sure to whisk in the eggs completely. Not sure why the recipe called for eggs, but make sure to use pasteurized. 
Add in the grated parmesan and herbs to the cream. Stir the mixture together. 
Once the meatballs are cooked all the way through, turn the heat off, and set them aside, covering the pan. 
Once the pasta is al-dente, or has reached your preference, completely strain the pasta and place into a serving dish. Place the meatballs on top of the pasta, and then add the cream sauce on top. Stir it all together. 
You may add more fresh parmesan and herbs on top. Enjoy! This dish was very delicious.